This week I'm combining Issue's 23 and 24 so I can keep the model on the build board, this means some of the steps in both Issues are ignored, at least until the bow and stern have a minimum of 4 rows of planks, which hopefully we'll get in the next 2 weeks or so. I want to avoid the model from hogging, a term I'll link but quite common in these large warship models. The magazine fails to also mention tapering of the planks, I will try to explain as I go along, remember you model may differ in where you taper your planks, also more bevelling as mentioned from last week.
We have again 2 thin ply parts which need little cleaning after taking them from the fret, you will probably need to adjust them when you offer them up to the stern of the ship, 20 planks also supplied.
After some good advice I've screwed the model back onto the build board, I've added some bits to help keep the whole board in a position that can still be worked on but avoids movement. This primarily to avoid what is called 'hogging', see here
Hogging and Sagging
Be 100% sure which way round these parts go, always dry fit, you will probably need to sand the notches to get a good fit. This works for both starboard and port side of the model.
I've jumped onto Issue 24 as I want to plank the top part of the ship first, at least 4 or 5 planks can be fixed while on the build board, at least for me anyhow.
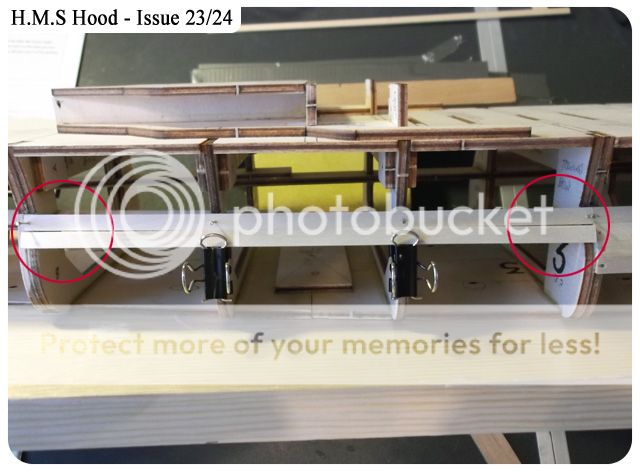
After the first plank from Issue 24 was added the second was bevelled and as you can see in the red circle needs tapering. That means instead of forcing the plank to fit I need to sand the middle area a little so I can lay it flat back onto the frames and it butts nice an easy up against the previous plank.
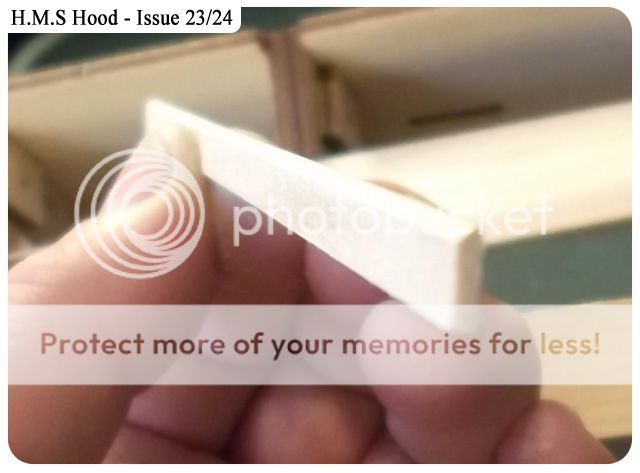
A few more planks down and bevelling & tapering each plank, do this for each plank as the amount needed vary's from plank to plank.
A last row of planks laid from Issue 23, I'll continue to lay another next to it.
So from Issue 24 I've laid 5 planks on both port and starboard plus matching this up with layers needed at the stern.
I didn't have to taper the planks much but I did have to bevel the plank quite a lot to have them flow around the frames with to much of a gap.
There are more planks I could add but I'm going to wait for the next few Issues to add the upper planks for the bow area and some more at the stern, this will give more strength the the whole ship before taking her from the build board and continuing to plank down the hull.
This page from Model Ship World will give you a better idea of plank tapering -
Plank Tapering
And while I'm at it here from the same site is bevelling -
Plank Bevelling


Hi zeptrader,your build is coming along brilliantly, Thanks for the link on planking its very helpful as Im also trying to build a plank on frame Brig
ReplyDeleteregards
Les