This weeks Issue contains 45 planks to start planking the bow area, nothing to taxing again but worth mentioning again about tapering and bevelling the planks to get as nicer fit as you can. I've also fitted 2 parts from a few Issues ago but was not sure how they fitted until now.
Looking at the small picture inside the magazine Wednesday's Issue (26) look to contain more planks for work on the rear of the ship, that should be fun!!!!!
45 planks measuring 20cm
These are the parts that I left from a few Issue ago, after laying a few test plank across the frames I can see where these part fit, it's a shame the magazine instruction didn't show this a bit clearer in the magazine.
Again I fixed a plank on the notches and started fitting my planks underneath, you don't have to do as I've done but I found it keeps the first planks nice and uniform.
Still on the build board I've fitted 2 layers of planks, working on both port and starboard side.
As you can see the lines are nice and sharp.
A 3rd layer of planks added, before the plank is glued I've bevelled if needed, there's not much tapering needed at this end of the ship but your's may differ, each layer of planks will need various amounts of work to get a smooth and neat fit to the plank above. Take you time and dont rush at this stage, a neat fitting plank will reduce the need to over-sand.
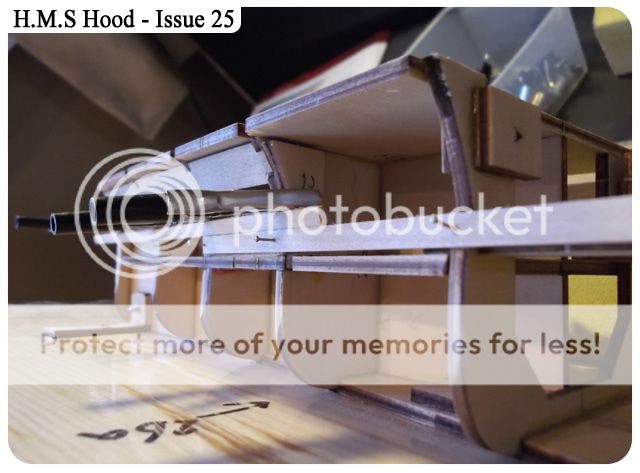
At this stage I decided to take her off the build board to add a few more plank at the bow, I felt it was far easier to work this way rather than on the board. At this stage I decided to check the frames with a spare plank (longest) and touch up any areas of the frames that were missed in the first sanding (fairing).
I started to fit more planks to the stern (rear) of the ship and had to start tapering the plank, in the picture you can see a slither of wood taken from the plank, you can see one end is smaller than the other, the smaller end wraps around the frames more than the larger end, I also bevelled this plank, test fitting all the time until I was happy with the fit. You will probably have to do this at different level throughout the planking stage, some are tapered more than other.
And this is the plank fitted in position, as you can see there is minimal need to sand after the glue has dried as with the other planks above it. I know this is the first layer and will not be seen but I personally think its a good time to really hone your planking skills. A suggestion that was given to me some years ago was to use some thick card and cut a plank shape, then use that to test the amount of tapering you'll need for that stubborn area.
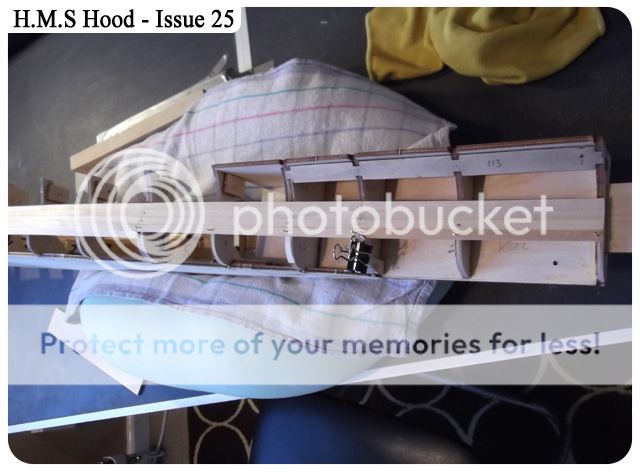
After fitting the planks it was screwed back down on the build board for the next week and the light was getting bad as well, I'll probably add a few more layers of planks to the hull and wait until we get the armour belt planking (above the notch) before taking her off the board, and only then I'll complete the lower hull planking.


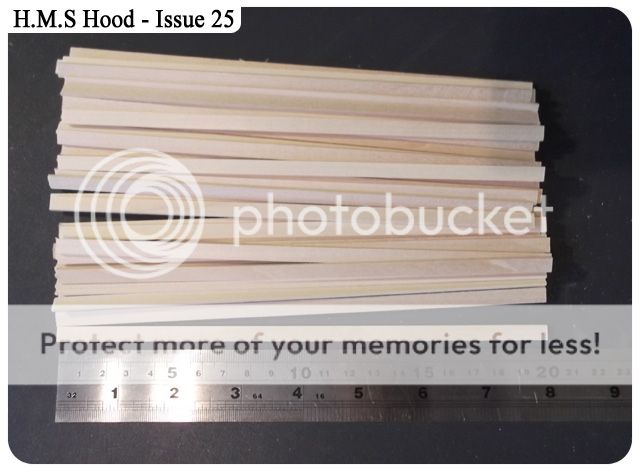


The planks are 200mm long.
ReplyDeleteWhat is the width and thickness of the planks?
6mm x 1.5mm?
Sorry, I forgot my name: Rein.
ReplyDeleteI’m from the continent and Hachette dont deliver to my country!
I just have bought the weeks 1-24, so if I could have an answer to my question, I can continue with part 25 and perhaps 26? Or can I find the answer in week 21-24? Same lenght? Thanks in advance.
for the answer to your first question..yes, there about's, the second question...what is your question?????? the lengths vary depending on what Issue, but if you look at the model you can see where the frames have been strengthened that is where the planks lay.
ReplyDeleteOf course, the frames determine the length of the planks.
DeleteSorry, my brain was a bit .........